How to Add an ACH Payment Method
How to Add an ACH Payment Method
This article is intended to serve as guidance for customers who wish to add an ACH payment method to their account.
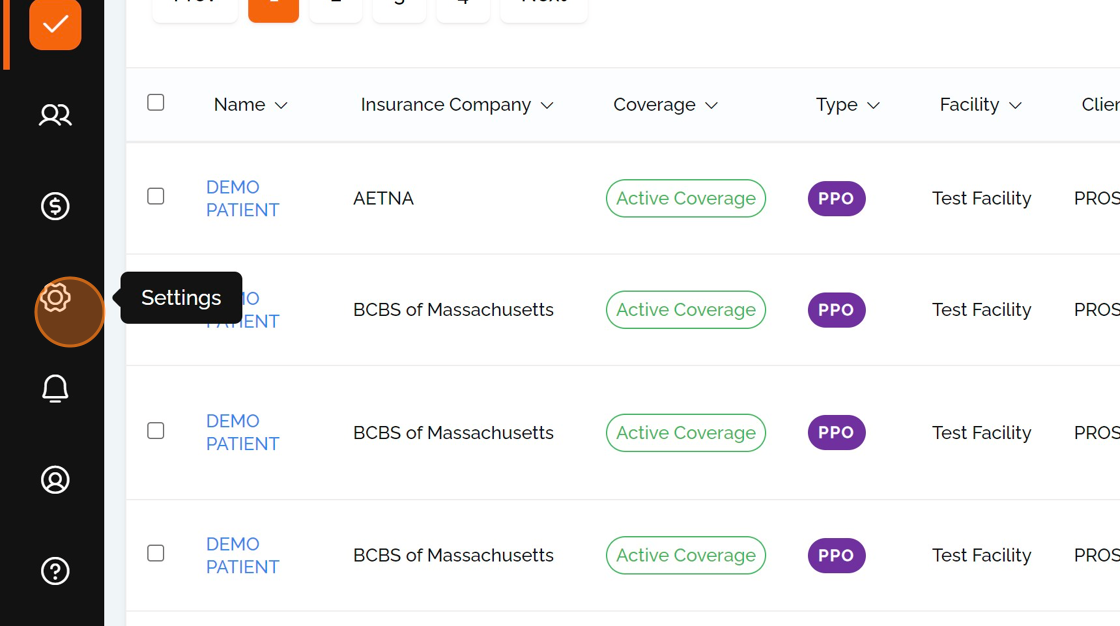
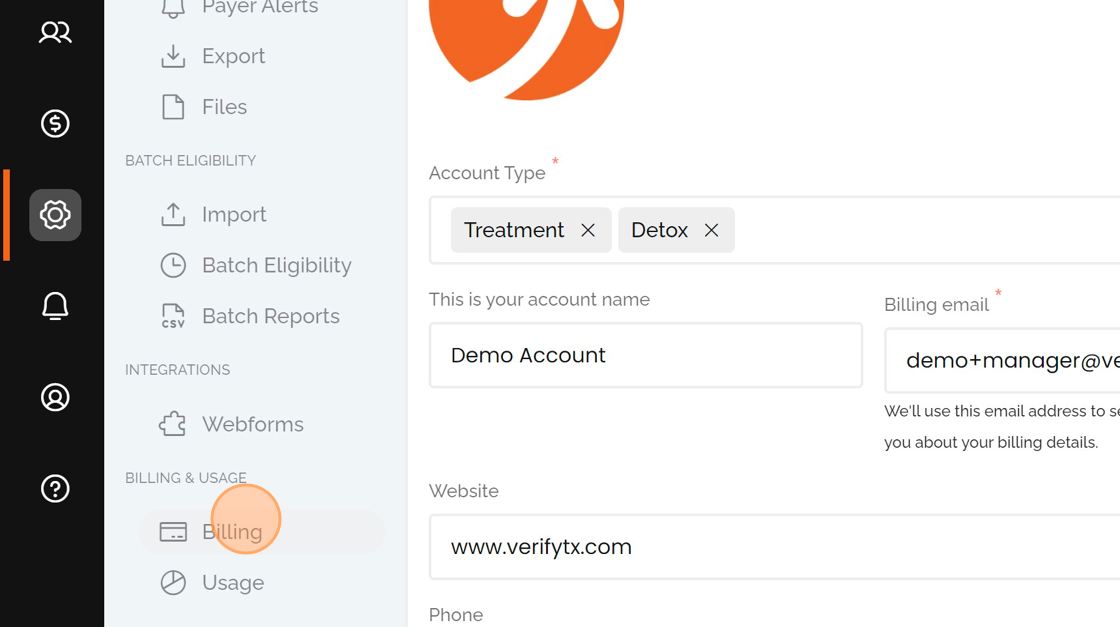
3. Click Billing
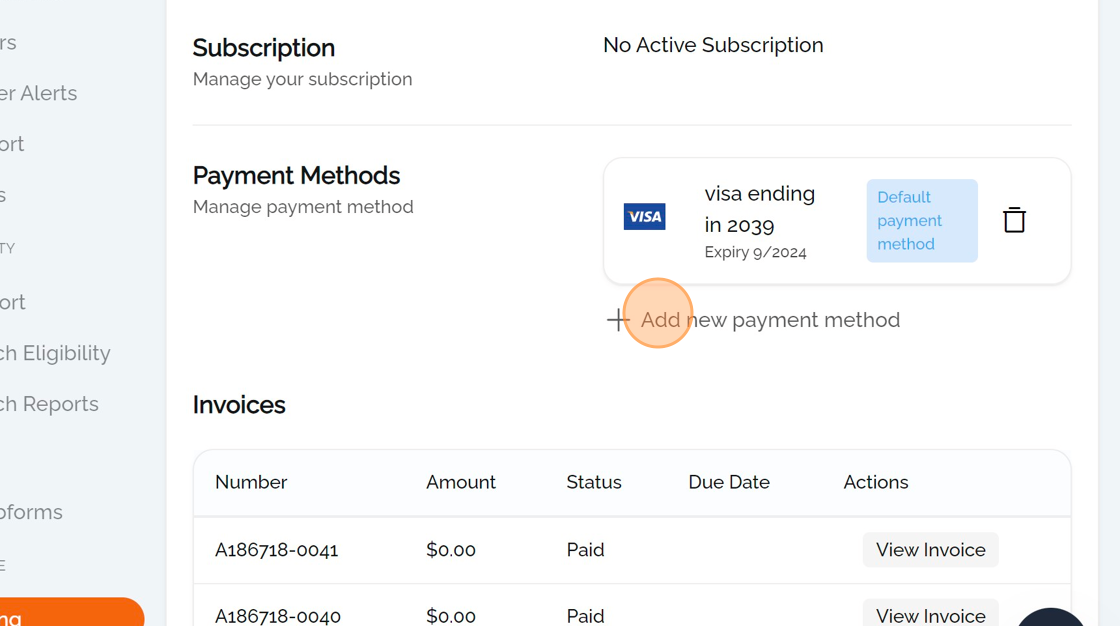
4. Click "Add New Payment Method"
5. Click "Bank Account"
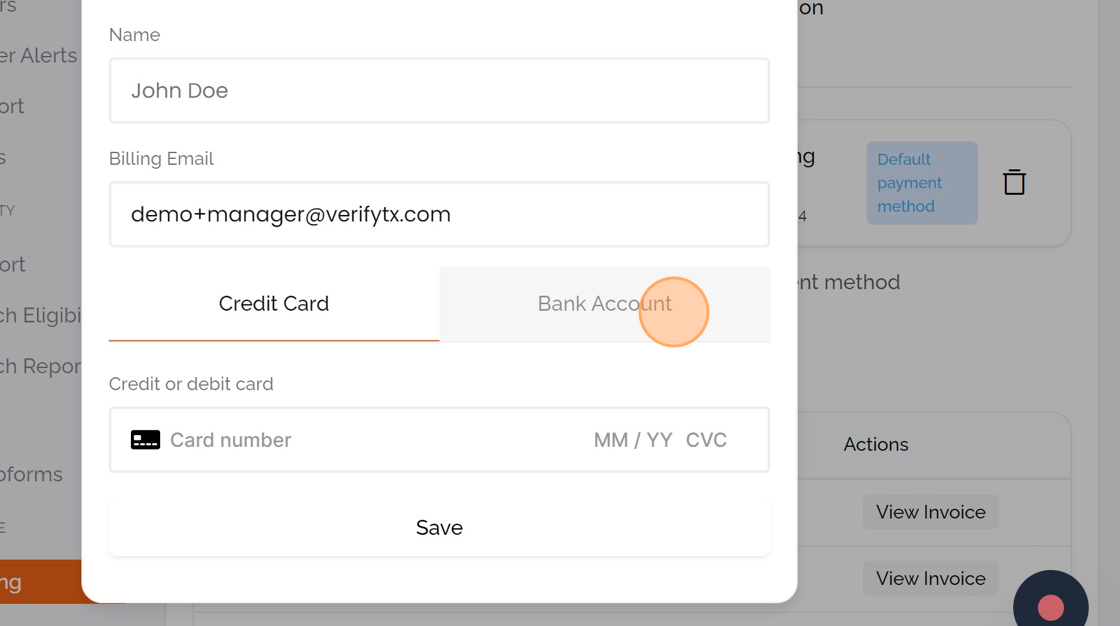
6. Enter the Payment Account Name, for ex: Recovery 123 Checking Account
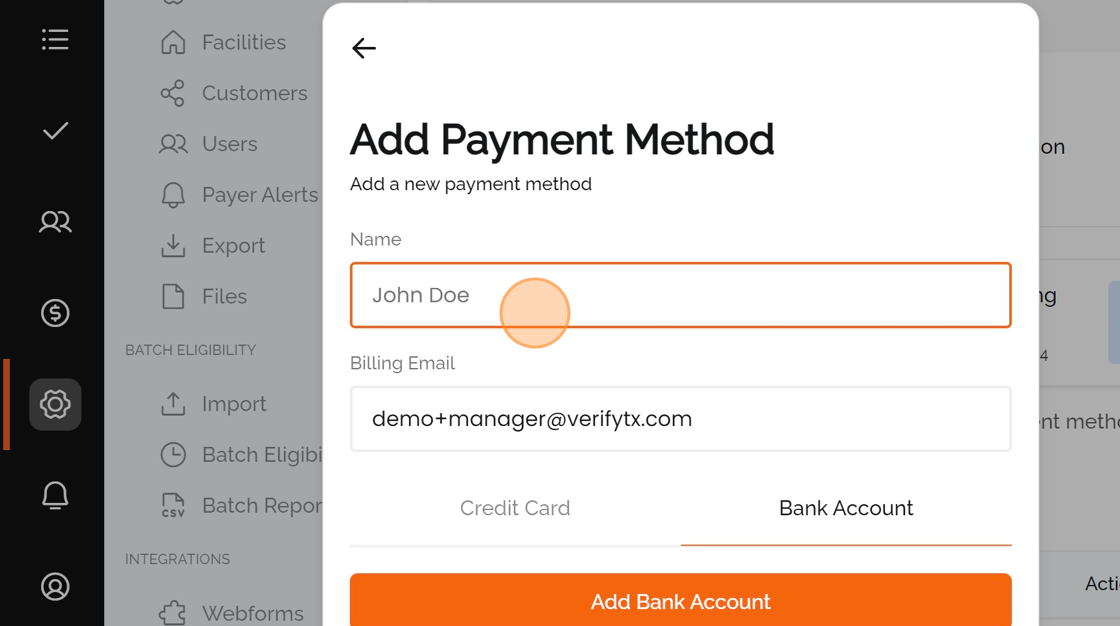
7. Enter the billing email
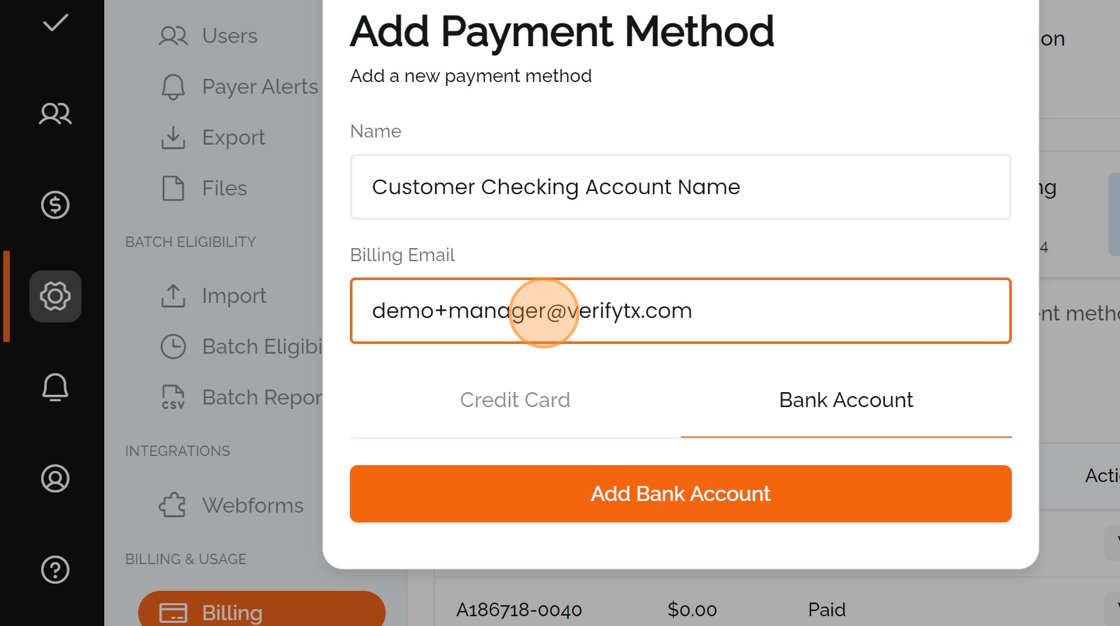
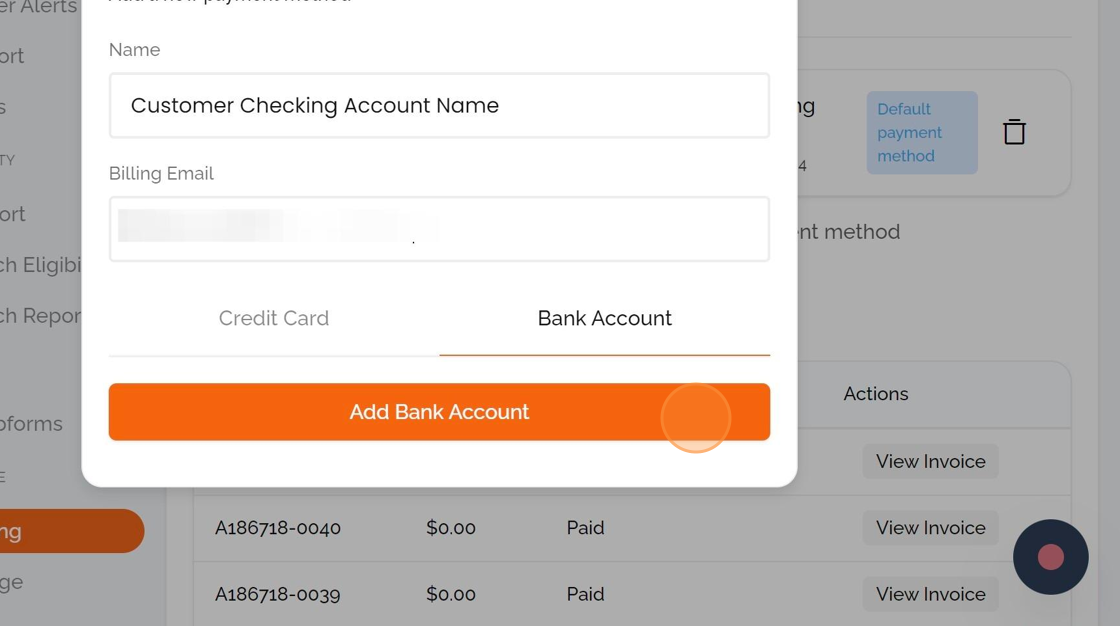
8. Click "Add Bank Account"
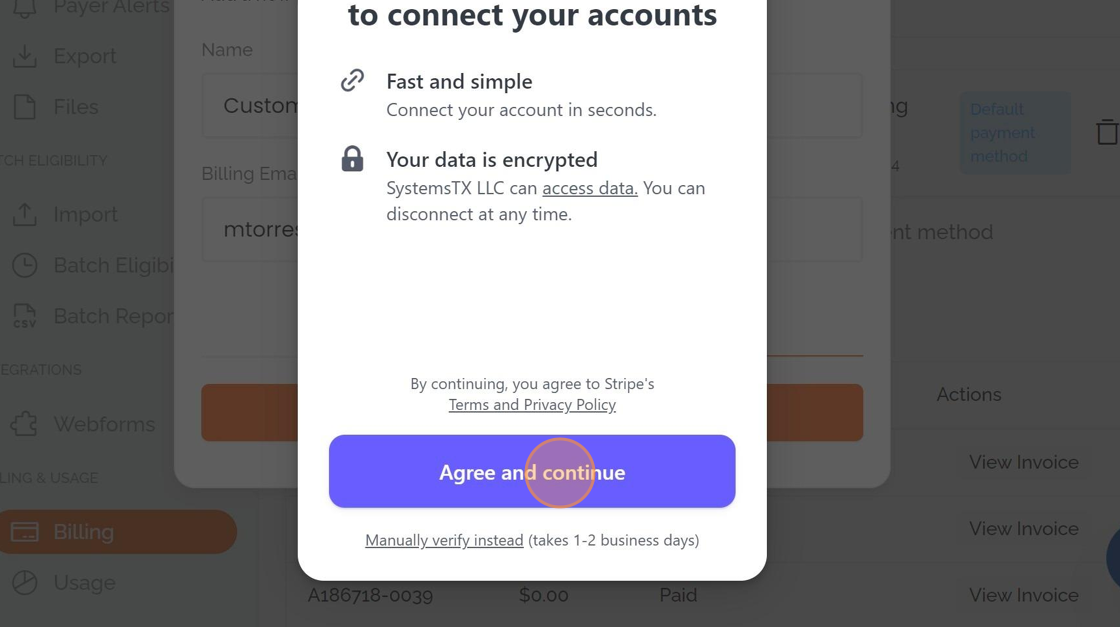
9. Click "Agree and continue"
10. Search for your bank and select it
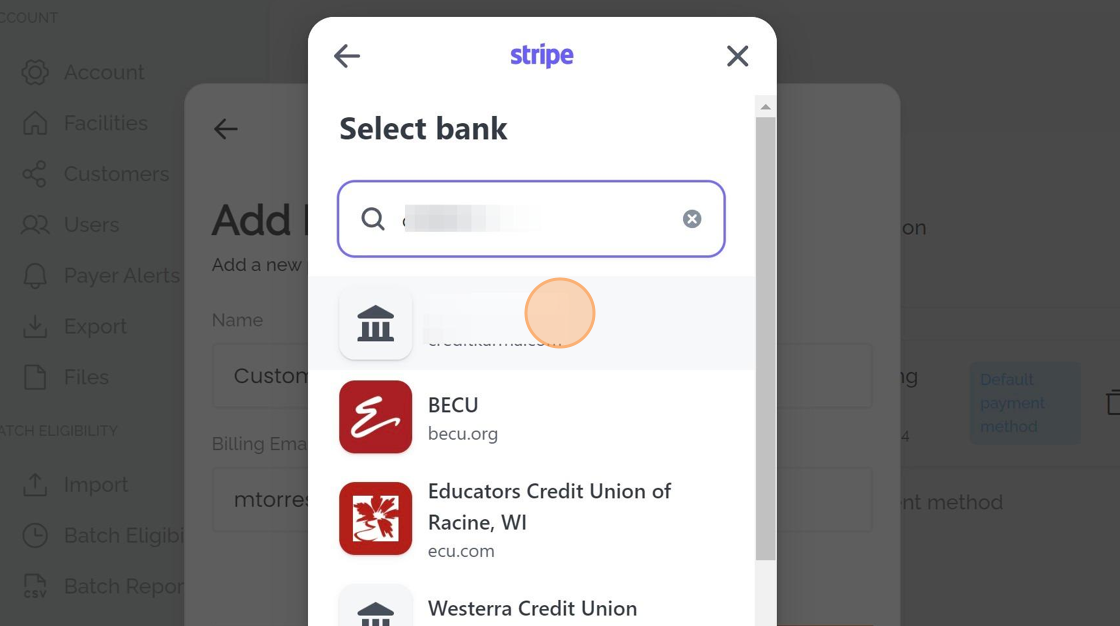
Alert: If you are unable to find your bank from the list, you will need to enter your bank details manually.
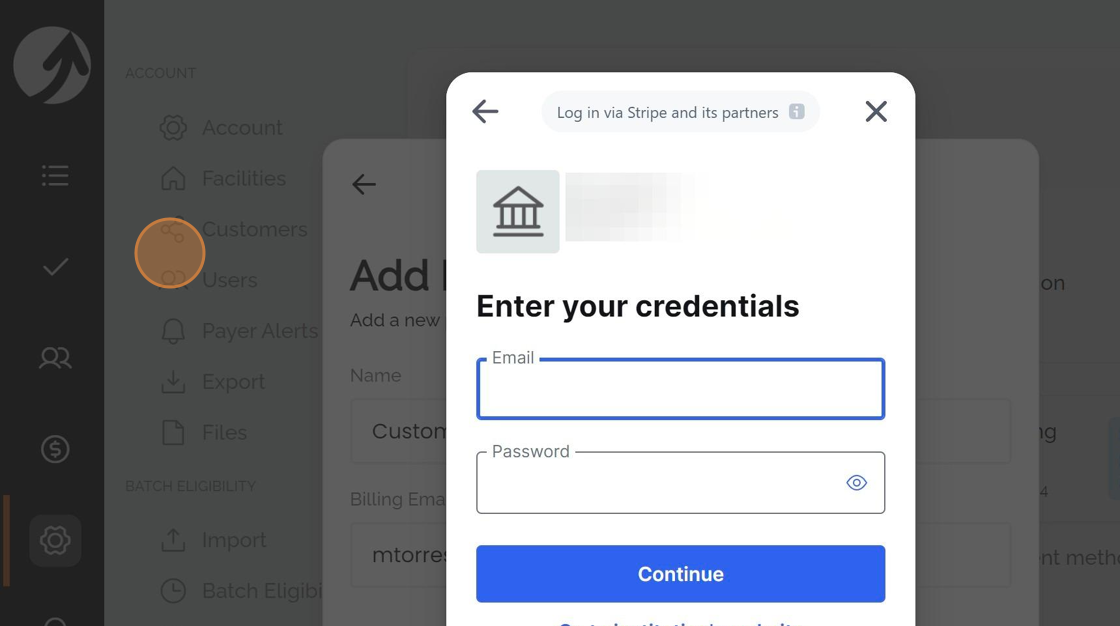
11. Login to your bank with your username and password, and click "Continue"
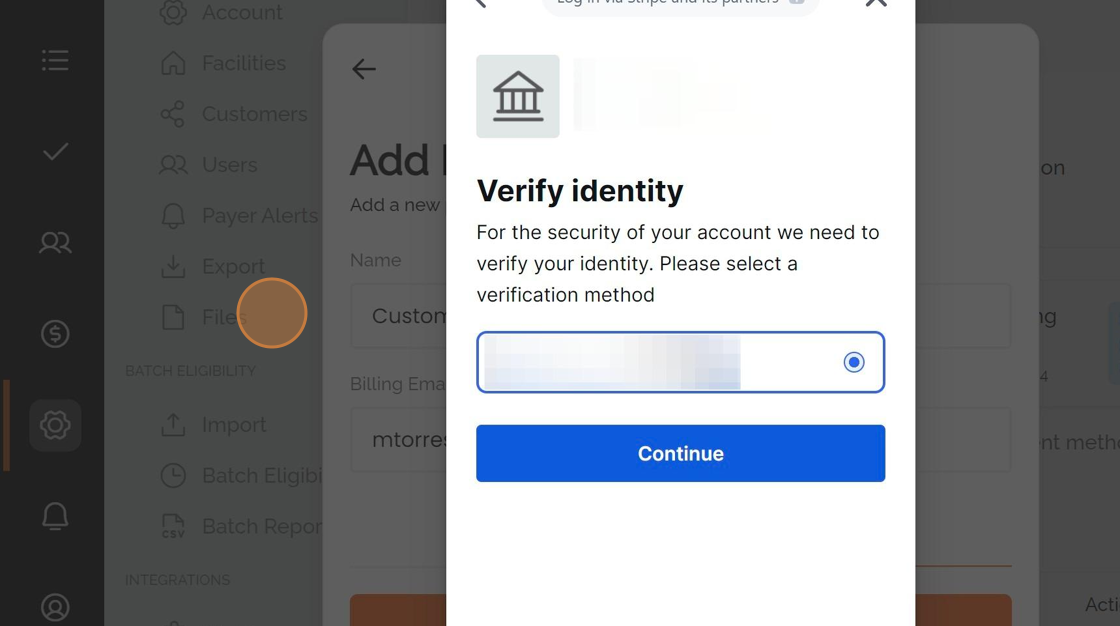
12. Select an MFA method if your bank requires MFA
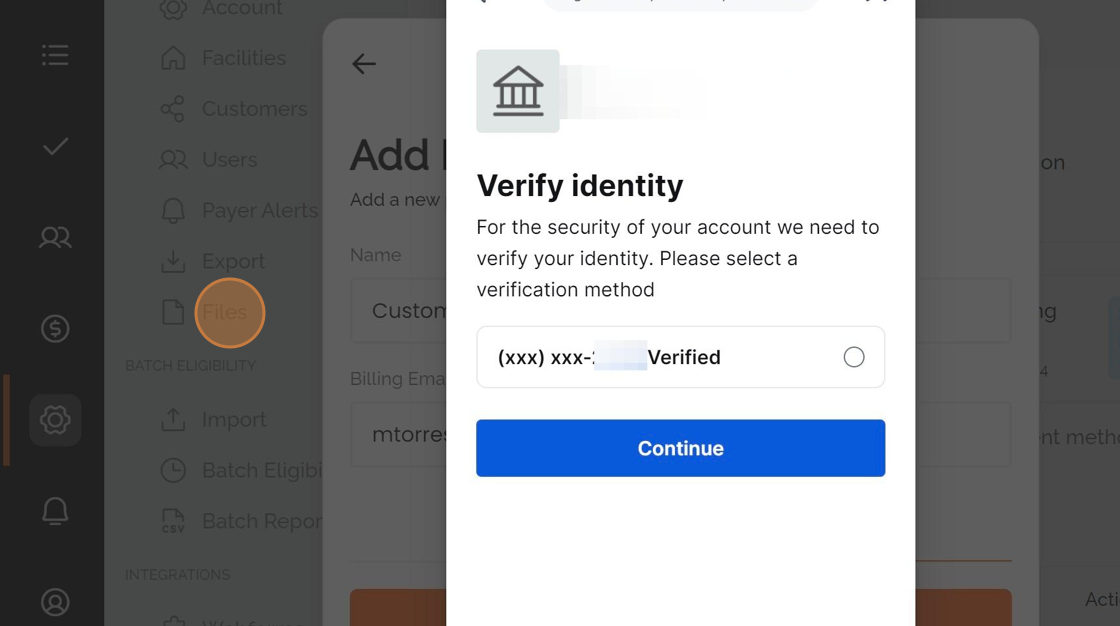
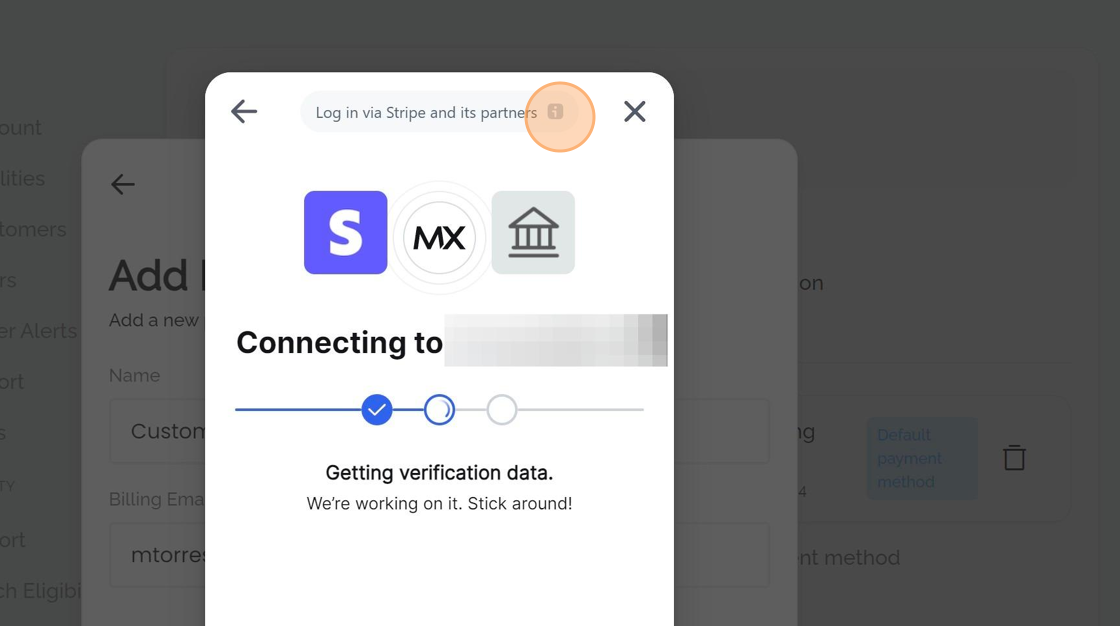
13. Select a verification method and click "Continue"
14. Please wait while Stripe connects with your banking institution. This may take a few minutes.
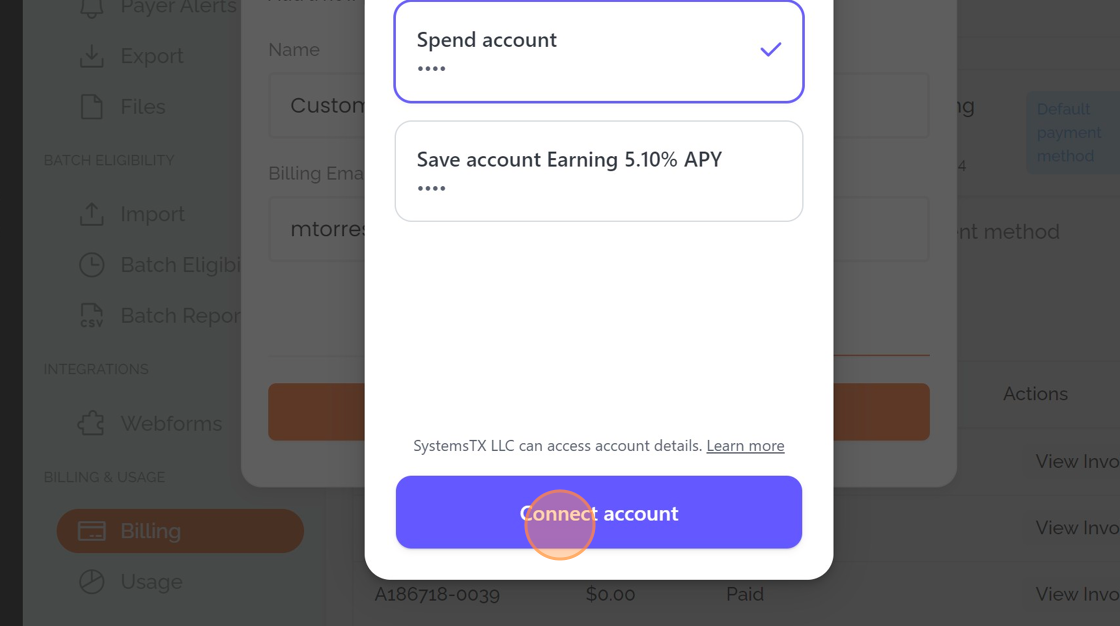
15. Click "Connect account"
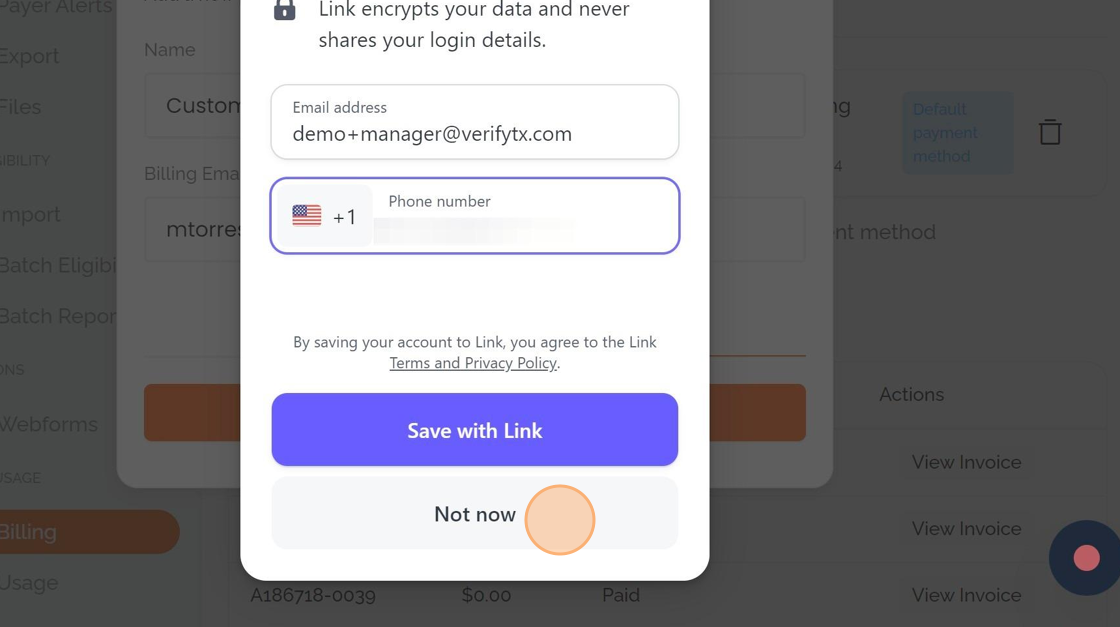
16. Click "Not now" when asked if you want to save your details with Stripe's merchant solution Link.
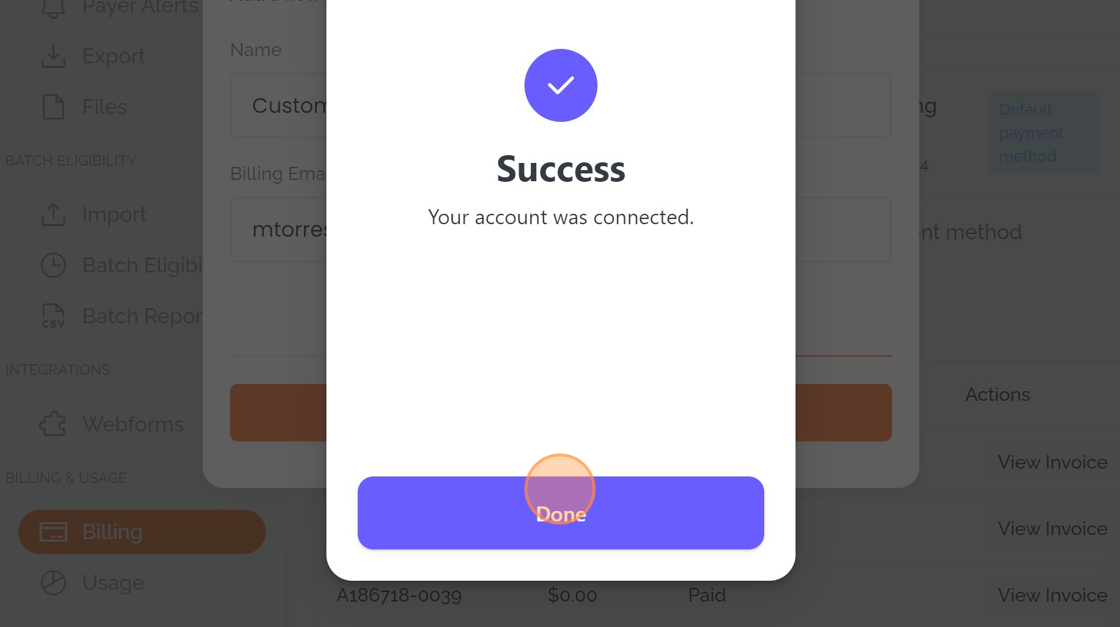
17. Click "Done"
Related Articles
Popular FAQs from our Clients
Popular Questions and Resolutions Adding User FAQs I'm having trouble adding a user, it says their email is already active on another VerifyTX Account, what should I do? First, find out if that person is still actively using that Verify TX account. ...How to Setup and Use the Google Authenticator MFA Option
Introduction: This article is intended to provide guidance to our customers on how to set a new MFA method with Google Authenticator. Important Notes: We currently support all Authenticator apps should they adhere to Authenticator Industry Standards ...How to Restrict or Tie Users to Select Facilities
Facility “Enterprise” Security Modification Introduction: This article is intended to provide guidance on our newest feature which allows facilities to be able to restrict the data a user has access to, based on the facilities tied to the user. ...Account Data Maintenance
Introduction: This article is intended to serve as guidance on the Account page and how to maintain the fields and information to keep up with your businesses growing needs. Account Name changed to “Account Nickname” – this will encourage customers ...How to Mass Update Fields in the VOB List View
How to Mass Update Fields in the VOB List View Introduction This article is intended to provide guidance to users on how to update eligible fields in mass in the verification list view. 1. Navigate to the "Verifications" List View 2. Click the ...